How do you crochet left-handed? Hold the hook in your left hand, yarn in your right, and work stitches from right to left — the mirror image of right-handed crochet.
Every stitch, pattern, and technique works identically once the direction is reversed.
If you are a left-hander who has tried to learn crochet from a standard tutorial and felt like everything was backward, that is because it was. Most crochet instruction assumes a right-handed student. The good news is that left-handed crochet is not harder than right-handed crochet. It is identical in difficulty. The only barrier is finding instruction that matches your handedness. This guide provides exactly that: a full walkthrough of left-handed crochet fundamentals, from holding the hook and yarn to completing your first basic stitches. If you have already tackled left-handed knitting, you will find many of the same principles apply here.
The mirror technique: understanding the reversal
Right-handed crocheters hold the hook in the right hand and work stitches from left to right across a row. Left-handed crocheters do the opposite: hook in the left hand, stitches worked from right to left.
This mirror reversal affects three things:
- Working direction. You work across the chain or row from right to left on the first row, then turn and work back from right to left again (each turn flips the work).
- Hook rotation. Where a right-hander rotates the hook counterclockwise to catch yarn, a left-hander rotates it clockwise.
- Pattern reading. Stitch charts and some written directions may need to be read in reverse. We cover this in detail in the pattern reading section below.
The finished fabric looks identical whether it was crocheted left-handed or right-handed. There is no difference in quality, tension, or structure.
Holding the crochet hook
There are two standard ways to hold a crochet hook. Neither is objectively better. Try both and use whichever feels more natural and controlled.
The pencil grip (also called the knife grip by some sources)
Hold the hook the same way you would hold a pencil. The thumb and index finger pinch the flat part (thumb rest) of the hook, and the shaft rests against the hand. This grip gives fine control and is comfortable for small, detailed stitches.
The knife grip (also called the overhand grip)
Hold the hook from above, wrapping the hand over the shaft the way you would hold a dinner knife while cutting food. The thumb sits on the flat part for stability. This grip allows more wrist movement and can feel more powerful for pulling yarn through tight stitches.
Which grip should left-handers use?
There is no left-handed-specific grip recommendation. Both grips work equally well for lefties. Choose based on comfort. If you experience hand fatigue, try switching grips to use a different set of muscles. Many experienced crocheters alternate between the two depending on the stitch and how long they have been working.
Holding the yarn
As a left-handed crocheter, you hold the yarn with your right hand. The right hand controls tension while the left hand manipulates the hook.
Basic yarn hold
- Drape the working yarn (the strand connected to the skein) over your right index finger.
- Wrap it under the middle finger, over the ring finger, and under the pinky. This weaving creates friction that controls how much yarn feeds through.
- Pinch the work (the chain or existing stitches) between your right thumb and middle finger, close to where you are about to insert the hook.
Tension should be firm enough that the yarn does not flop loosely but loose enough that it slides through your fingers without tugging. Finding the right tension takes practice. Your first few rows will probably be uneven, and that is completely normal.
Making a slip knot
Every crochet project begins with a slip knot. The process is the same for left- and right-handers.
- Make a loop with the yarn, crossing the working yarn (connected to the skein) over the tail end.
- Reach through the loop and pull the working yarn partway through to form a new loop.
- Slide the hook through this new loop.
- Pull the tail to tighten the knot around the hook. It should be snug but able to slide along the shaft.
The chain stitch
The chain stitch is the foundation of almost every crochet project. It creates the starting row that you will build upon.
- With the slip knot on your hook and the yarn held in your right hand, bring the yarn over the hook from back to front. This is called a "yarn over."
- Rotate the hook slightly clockwise to catch the yarn in the hook's throat.
- Pull the hook back through the loop already on the hook. You have completed one chain stitch.
- Repeat for as many chains as your pattern requires.
Tips for even chains
- Move your right-hand pinch point up after every few stitches so you are always holding the work close to the hook.
- Keep your chains loose. Beginners often crochet tight chains, which makes it difficult to insert the hook on the next row. If your chains feel stiff, consciously loosen your grip on both the hook and the yarn.
- Count your chains as you go. Place a stitch marker every 10 or 20 chains on long starting rows to avoid miscounting.
Single crochet
Single crochet (abbreviated sc in US terminology) is the shortest and most basic stitch. It produces a dense, sturdy fabric.
- Starting with a completed chain, insert the hook into the second chain from the hook (the first chain from the hook is skipped because it acts as a turning chain).
- Yarn over by bringing the yarn over the hook from back to front.
- Pull the yarn through the chain. You now have two loops on the hook.
- Yarn over again.
- Pull through both loops on the hook. One loop remains. You have completed one single crochet stitch.
- Insert the hook into the next chain and repeat.
At the end of the row, chain one (this is the turning chain for single crochet), turn the work 180 degrees, and begin the next row by inserting the hook into the first stitch.
Double crochet
Double crochet (abbreviated dc in US terminology) is taller than single crochet and works up faster. It creates a more open, flexible fabric.
- Yarn over before inserting the hook. This extra wrap is what makes the stitch taller.
- Insert the hook into the stitch (or chain).
- Yarn over and pull through the stitch. You now have three loops on the hook.
- Yarn over and pull through the first two loops. Two loops remain.
- Yarn over and pull through the last two loops. One loop remains. One double crochet is complete.
The turning chain for double crochet is three chains. After turning, the turning chain typically counts as the first double crochet of the new row, so you skip the first stitch and begin your first dc in the second stitch.
Half double crochet
Half double crochet (hdc) falls between single and double crochet in height. It is worked similarly to double crochet but finished in fewer steps.
- Yarn over, insert the hook into the stitch.
- Yarn over and pull through. Three loops on the hook.
- Yarn over and pull through all three loops at once. One loop remains.
The turning chain for half double crochet is two chains.
Reading crochet patterns as a left-hander
Written patterns using standard abbreviations (ch, sc, dc, hdc, sl st) work identically for left- and right-handed crocheters when working in rows. You read the instructions as written and simply execute them in the mirror direction. The turning and stitch counts are the same.
Stitch diagrams and charts
Symbol charts, which show each stitch as a graphic symbol, are designed with right-handed working direction in mind. To use them left-handed:
- Read odd-numbered rows from left to right instead of right to left.
- Read even-numbered rows from right to left instead of left to right.
- Alternatively, hold the chart up to a mirror or flip the image horizontally on your computer.
Working in the round
When crocheting in the round (for hats, amigurumi, or granny squares), left-handed crocheters work clockwise instead of the right-hander's counterclockwise. The finished piece looks the same. Written round-by-round instructions require no modification.
Common mistakes and how to fix them
Uneven tension
Inconsistent stitch size is the most common beginner problem regardless of handedness. The fix is practice. Crochet a series of simple dishcloths or swatches, focusing on keeping your yarn-holding hand at a consistent tension. Over time, muscle memory develops and your stitches even out.
Miscounting stitches
Losing or gaining stitches causes your work to grow or shrink unexpectedly. Count your stitches at the end of every row for your first several projects. Use stitch markers at regular intervals on longer rows.
Twisting the chain
When working into a long starting chain, it is easy for the chain to twist so you are inserting the hook into the wrong side. Before starting your first row, lay the chain flat and make sure all the V-shapes face upward in the same direction.
Crocheting too tightly
Tight stitches make it difficult to insert the hook on subsequent rows. If you have to force the hook through, your tension is too tight. Try going up one hook size or consciously loosening your grip on the yarn.
Choosing your first project
Start with something flat and rectangular that uses a single stitch type. Good first projects include:
- Dishcloth or washcloth. Small, forgiving, and immediately useful. Use cotton yarn and a single crochet stitch throughout.
- Scarf. Longer than a dishcloth but still simple. A scarf in double crochet works up quickly and teaches consistent stitch counting over many rows.
- Phone or tablet sleeve. A small rectangular pouch that introduces seaming (sewing two edges together) as a finishing skill.
Avoid starting with complex patterns, fitted garments, or amigurumi. Build your foundation stitches and tension control first.
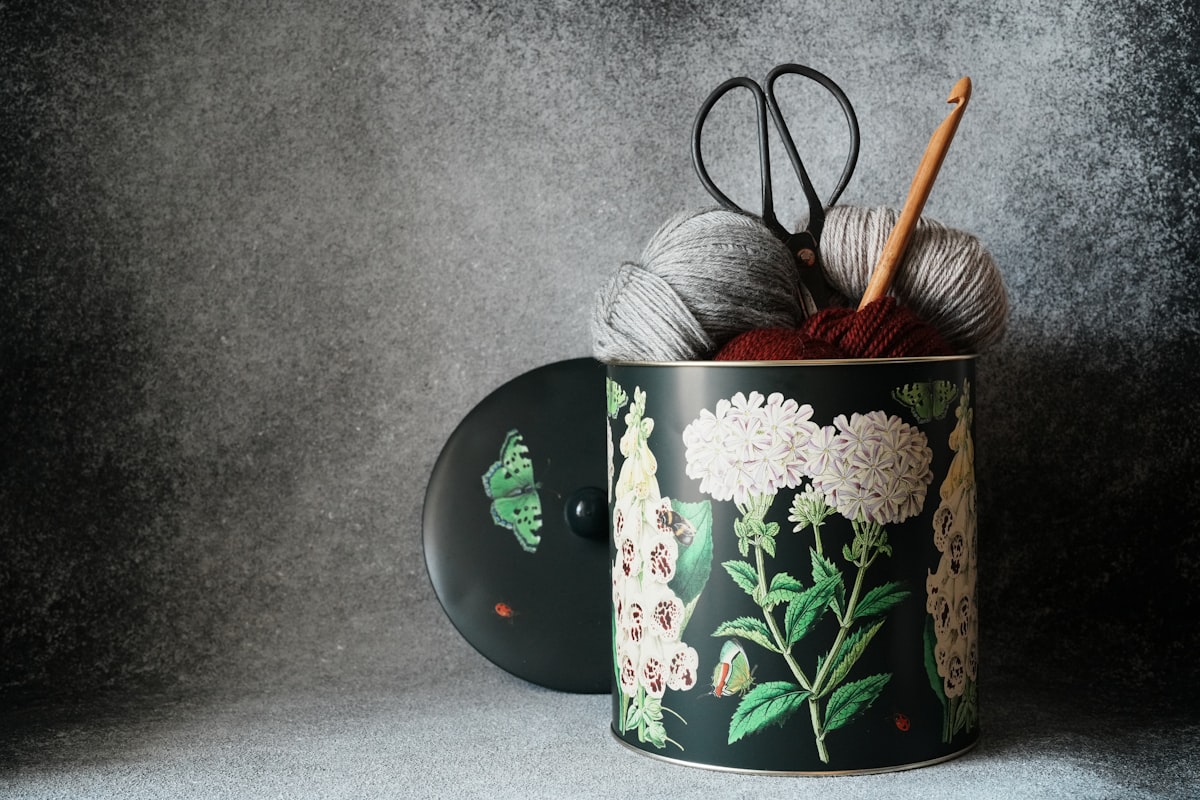
Tools and materials for left-handed crocheters
Crochet hooks themselves are ambidextrous. There is no such thing as a left-handed or right-handed hook. However, a few tool choices can improve your experience.
- Ergonomic hooks. Hooks with soft, contoured handles reduce hand fatigue during long sessions. Brands like Clover Amour and Tulip Etimo are popular choices.
- Hook size. Start with a 5 mm (US H/8) hook and medium-weight (worsted/4) yarn. This combination is large enough to see your stitches clearly without being unwieldy.
- Yarn. Smooth, light-colored acrylic or cotton yarn in a solid color makes it easiest to see your stitches. Avoid fuzzy, dark, or heavily textured yarn until you are comfortable with the basics.
- Stitch markers. Locking stitch markers are invaluable for marking the first stitch of a row, counting intervals, or flagging a pattern repeat.
If you are looking for a gift for a left-handed crocheter, a set of ergonomic hooks and a few skeins of smooth yarn make an excellent starter kit. Our gift guide for left-handers has more ideas.
Learning resources for left-handed crocheters
Visual learning is especially important for crochet. Watching a left-handed demonstration is far more effective than trying to mentally mirror a right-handed one.
- YouTube. Search "left-handed crochet" for dedicated tutorials. Channels like Bella Coco and TL Yarn Crafts offer left-handed versions of many popular stitch tutorials.
- In-person classes. Local yarn shops sometimes offer beginner classes. Call ahead and ask if the instructor can accommodate left-handed students. A good instructor can sit across from you and demonstrate right-handed while you mirror, or they may be left-handed themselves.
- Books. Look for crochet books that include left-handed diagrams or instructions. These are less common than right-handed-only books, but they do exist.
Left-handed crafting is part of a broader conversation about how products and instruction are designed for the dominant hand. The more left-handers speak up about their needs, the more resources become available.
Connecting crochet to other left-handed skills
Many of the frustrations left-handed crocheters face, working from mirrored instructions, adapting right-handed tools, building muscle memory in the non-standard direction, are shared across left-handed craft and writing skills. If you are also learning handwriting techniques, our guide on how to write left-handed covers similar themes of adapting to a right-handed default. And for a broad overview of what it means to navigate the world as a left-hander, the left-handed 101 guide is a good starting point.
Frequently asked questions
Can left-handers follow right-handed crochet patterns?
Yes. Written patterns using standard abbreviations (ch, sc, dc) work the same for left-handers working in rows. You simply execute the stitches in the mirror direction. Stitch charts may need to be read in reverse order per row or flipped horizontally, but the stitch counts and construction remain identical.
Is left-handed crochet harder than right-handed crochet?
No. The stitches, techniques, and finished results are identical. The only added difficulty is that most tutorials and classes are taught right-handed, so left-handers have to either find left-handed instruction or learn to mentally mirror right-handed demonstrations. Once you learn the basic stitches, the handedness difference becomes invisible.
Do I need a special left-handed crochet hook?
No. Crochet hooks are symmetrical and work in either hand. There is no structural difference between a left-handed and right-handed hook. Choose your hook based on size, material (aluminum, bamboo, plastic), and handle ergonomics, not handedness.
Why does my left-handed crochet fabric look different from the pattern photo?
Left-handed crochet produces a mirror image of right-handed crochet. For most stitch patterns, this is unnoticeable. However, certain asymmetrical stitch patterns or colorwork designs may appear reversed. The fabric itself is structurally sound. If the reversal matters for your project, you can flip the finished piece or work from a mirrored chart from the start.